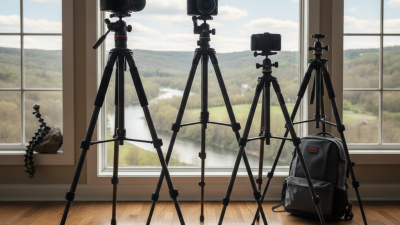
Professional camera setups often move between tripod heads, sliders, shoulder rigs, and gimbals. A secure connection matters. A poorly matched plate can shift under load, complicate balancing, or slow a quick change on set. Even a few millimeters of movement can become noticeable when framing a long lens or making a controlled pan.
This guide looks at seven camera stabilizer plates for professional cameras, with attention to fit, build quality, adjustment range, and practical handling. The right Camera Stabilizer Plate should match your camera’s mounting points and the support system you use. Check its stated load capacity, dimensions, locking method, and compatibility before buying. Look closely at the clamp, too. A confident lock feels reassuring; loose tolerances do not. Some plates offer more adjustment, while others keep a rig compact and simple. There is no universal winner. A plate that works well on a lightweight cinema camera may not suit a heavier build with a monitor, battery, and follow-focus accessories. Product specifications can help narrow the choices, but they cannot replace checking your own rig. That part is easy to overlook. The picks below are intended to help you compare options clearly, while recognizing that fit and workflow preferences vary from one camera operator to another.
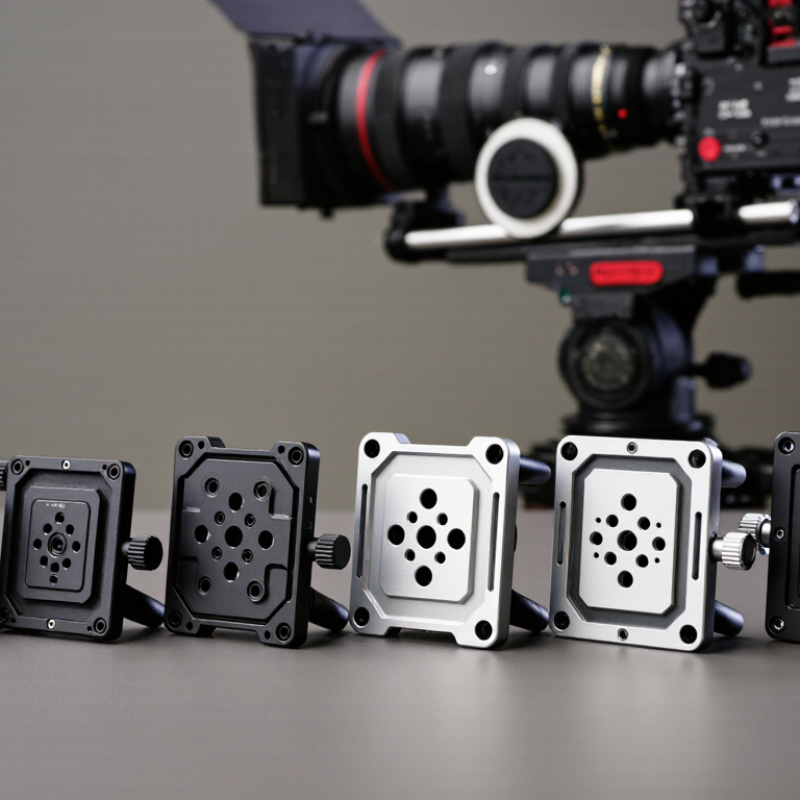
A camera stabilizer plate is the mounting interface between a camera and a stabilizing rig. It usually attaches with a threaded screw, then locks into a clamp or receiver. The plate itself does not stabilize the image. Instead, it holds the camera securely and lets the operator position it for balance. Small shifts matter. Moving a camera a few millimeters can change how much effort a gimbal’s motors need to keep the camera level.
To set one up, attach the plate firmly and slide it until the camera’s center of gravity sits close to the rig’s balance point. Check that the lens, battery, and cables have room to move without striking the frame. A plate that fits one camera setup may not suit another, especially when accessories change the weight distribution. That sounds simple. It isn’t always. In practice, balancing can take several adjustments, and a tight screw does not guarantee a balanced rig. Check the lock, gently test the camera’s movement, and rebalance after changing lenses or adding gear.
| Plate Type | Mounting Interface | How It Helps Stabilize a Camera | Best Suited For | Important Checks |
|---|---|---|---|---|
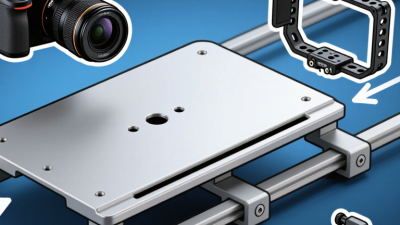
| 1. Long Sliding Balance Plate | Long dovetail or slot-based plate; camera attachment commonly uses 1/4"-20 or 3/8"-16 screws. | Lets the camera move forward or backward on a head or support so its center of gravity can be balanced. | Tripods, fluid heads, and video rigs where lens or accessory changes affect balance. | Confirm the plate fits the receiver and provides enough travel for the camera-and-lens combination. |
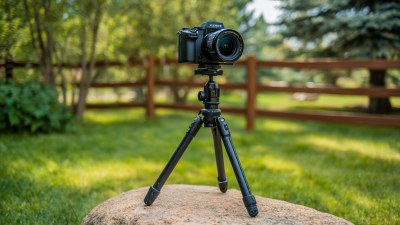
| 2. Arca-Type Quick-Release Plate | Angled dovetail plate that clamps into a compatible receiver; camera attachment is typically a 1/4"-20 screw. | Provides a compact, repeatable connection for moving a camera between compatible supports. | Lightweight camera setups and rigs that use an Arca-type clamp. | “Arca-type” dimensions and clamp tolerances can vary; check fit rather than assuming every plate is interchangeable. |
| 3. Video Quick-Release Plate | Rectangular plate designed for a matching video-head receiver, often with locating pins or anti-twist features. | Locks the camera onto a head quickly and can resist rotation under movement. | Run-and-gun video work and repeated camera mounting on a compatible fluid head. | Receiver patterns are not universal. Match the plate to the head and verify the locking mechanism engages fully. |
| 4. 15 mm LWS Rod Baseplate | Baseplate with two 15 mm rods spaced 60 mm apart center-to-center in the common lightweight-support configuration. | Creates a stable platform for accessories such as a follow focus, matte box, or lens support. | Compact cinema and mirrorless-camera rigs with lightweight rod-mounted accessories. | Check rod diameter, 60 mm spacing, camera clearance, and whether the plate’s height suits the lens and accessories. |
| 5. 19 mm Studio Rod Baseplate | Studio-style baseplate for 19 mm rods, commonly arranged at 100 mm center-to-center spacing. | Supports larger rod-mounted accessories and helps keep a heavier camera package aligned. | Studio and production rigs built around 19 mm rod accessories. | It is larger and heavier than a lightweight-support system. Confirm the camera support and accessories use the same rod standard. |
| 6. Camera-Cage Baseplate | Attaches to the bottom of a camera cage using threaded mounting points, commonly 1/4"-20 or 3/8"-16. | Spreads mounting options across a rig and can add a secure interface for rods or a quick-release receiver. | Camera builds that need handles, monitors, wireless accessories, or a modular support system. | Check the cage’s hole pattern, screw length, and access to the camera battery and media doors. |
| 7. Long-Lens Support Plate | Extended plate with adjustable lens-support provisions; camera and lens attachments vary by design. | Supports a long or heavy lens near its tripod foot, reducing strain on the camera mount and improving balance. | Telephoto lenses and setups where the lens is substantially heavier than the camera body. | Use a support compatible with the lens foot and ensure the support does not push the lens out of alignment. |