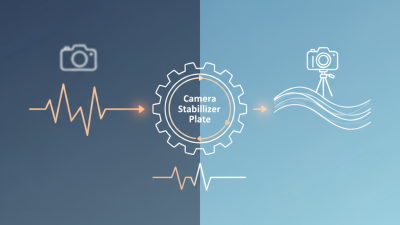
Choosing the best Camera Stabilizer in 2026 depends less on a headline feature than on how you shoot. A travel filmmaker carrying a lightweight mirrorless camera needs different support from a wedding videographer using a heavier lens. The right stabilizer should balance payload, handling, battery life, and setup time. Smooth footage matters, but so does being ready before a moment passes.
Small details can change the experience. A gimbal that feels steady in a shop may strain your wrist after an hour of walking. A quick-release plate can save time between handheld and stabilized shots, while awkward balancing can make even a capable model frustrating. That matters. And weight adds up.
This guide compares Camera Stabilizer options through practical criteria: camera compatibility, stabilization performance, controls, portability, and value. It also considers how each model suits common shooting situations, rather than treating every creator as having the same needs. Manufacturer specifications are useful, but they do not tell the whole story; comfort and workflow are harder to measure on a product page. I still think buyers sometimes overvalue extra modes. A feature is only helpful if you can use it confidently when the shot matters. The best choice in 2026 may be a compact, simple unit—or a stronger model built for heavier rigs. Use the comparisons ahead to match the equipment to your camera, your projects, and the compromises you can accept.
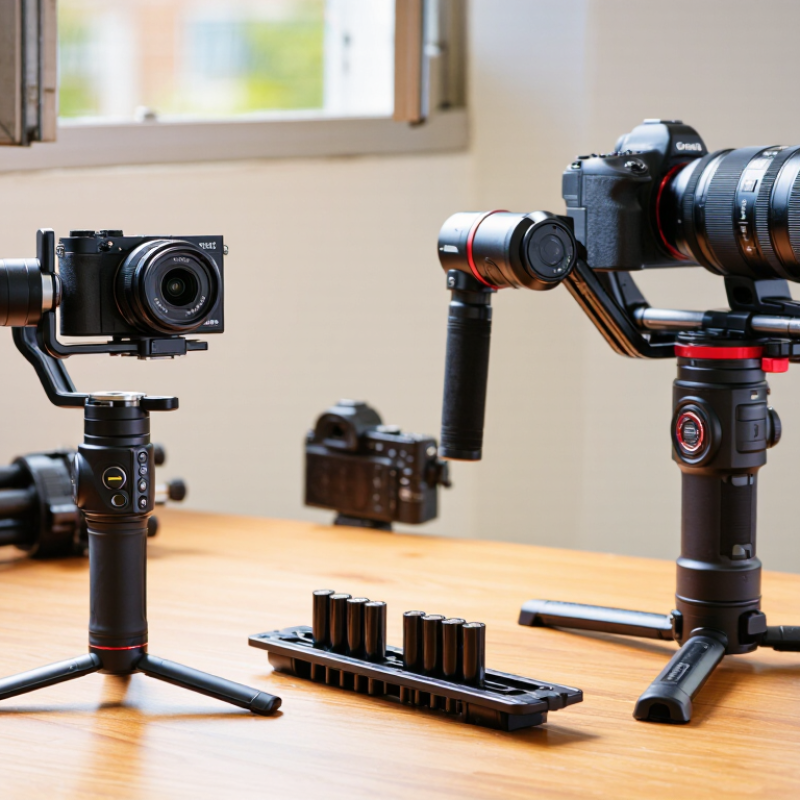
A camera stabilizer is a support system that reduces unwanted movement while you film. It may use springs, counterweights, or powered motors to keep the camera steady. The goal is not to freeze every motion, but to soften shakes that make footage distracting. Not quite.
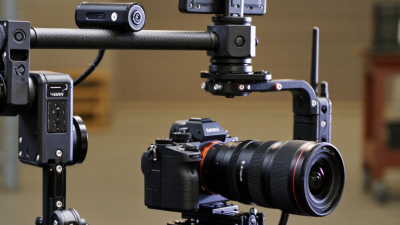
A three-axis motorized stabilizer senses movement and adjusts its motors around the camera’s tilt, roll, and pan. Sensors track changes many times per second, while the motors gently correct the camera’s position. A mechanical stabilizer works differently: careful balance and a suspended arm absorb some steps and bumps. Both methods depend on setup. A poorly balanced camera can strain motors or drift during a shot.
Stabilization helps most when filming handheld, walking slowly, or following a subject through a room. It does not remove every jolt, nor does it replace thoughtful movement. Fast turns can still look abrupt, and a stabilizer may make a camera rig heavier than expected. Small details count. Check that the camera is secure, balance it for the lens you plan to use, and test a short walk before recording. A common mistake is expecting perfectly smooth footage without adjusting pace or posture. Stabilizers help, but they cannot make every move graceful.
What Is the Best Camera Stabilizer in 2026?
Main Types of Camera Stabilizers Available in 2026
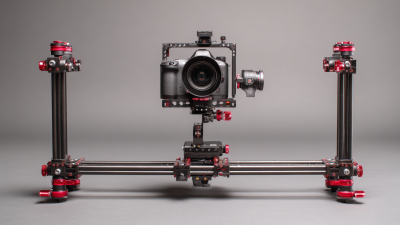
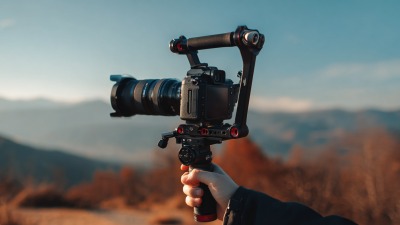
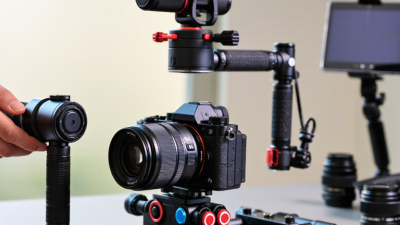
The best camera stabilizer depends on your camera, movement, and shooting style. Motorized gimbals use powered axes to smooth walking shots and gentle pans. They work well for moving subjects, but add charging and balancing to your setup. A mechanical stabilizer uses counterweights instead of motors. It can produce fluid movement, though it takes practice and steady hands. Shoulder rigs spread camera weight across your body. They suit longer handheld takes, but may feel bulky in tight spaces. For mostly fixed shots, a tripod or monopod is often the simpler choice. Not flashy, but useful.
Tips: Check the stabilizer’s payload against your fully built camera, including lens and accessories. Practice balancing at home; small adjustments can make a noticeable difference. Consider carrying weight, too.
There is no universal winner. A gimbal may help on a walking tour, while a shoulder rig can feel more natural for interviews. Stabilization also depends on your pace and technique, not just the device. A stabilizer cannot hide every bump. Before buying, test the setup for a few minutes and notice whether your arms tire or controls feel awkward. It is easy to focus on smooth footage and forget comfort.
A stabilizer is useful only when it suits your camera, lens, and shooting style. Begin with payload capacity, but do not treat the maximum rating as a target. Add the camera, lens, microphone, and any monitor, then leave some capacity in reserve. Balance matters. A front-heavy setup may strain the motors and drain the battery faster. Check the grip in your hands, too; a rig that feels manageable for a minute can become tiring during a long take. Small details count. Cold mornings can also shorten battery life.
Match the stabilizer’s movement modes to the shots you actually make. A compact, lighter model may work well for travel and quick handheld scenes. For walking shots, look for smooth starts and stops, not just impressive specifications. Battery runtime matters on location, while clear controls help when you need to change settings without stopping. Setup can take longer than expected, especially with heavier lenses. I would still allow time for a test balance before filming; it is easy to overlook one loose cable. No spec sheet tells the whole story.
| Stabilizer type | Typical camera load | Power or operating time | Best suited for | Key advantages | Trade-offs | What to check before choosing |
|---|---|---|---|---|---|---|
| Compact 3-axis motorized gimbal | Approximately 0.5–2 kg, depending on the model | Often around 6–12 hours per charge; actual time varies with load and motor use | Mirrorless cameras, compact camera setups, walking shots, and lightweight travel filming | Smooth movement on three axes; quick changes in camera direction; relatively portable | Needs balancing and charging; payload limits can be restrictive with long lenses or accessories | Confirm the fully rigged camera weight, mounting dimensions, lens clearance, and balance range |
| Heavy-duty 3-axis motorized gimbal | Approximately 2–6 kg for many systems; some specialist systems support more | Commonly several hours per battery set; operating time depends on battery capacity and payload | Heavier camera builds, cinema-style setups, controlled tracking, and production work | Can support larger camera builds and accessories while providing active stabilization | Heavier, more expensive to operate, and slower to set up than compact options | Leave payload headroom and verify that the camera, lens, follow-focus, monitor, and cables can all be balanced |
| Mechanical steadicam-style rig with vest and arm | Varies widely; designed to carry a camera rig through a support arm and vest | No motor battery required for the mechanical support system | Long walking or running takes, continuous movement, and productions that need a floating camera look | Transfers much of the rig's weight to the operator's body; supports fluid movement over longer takes | Requires practice, fitting, and setup; bulky to transport; does not automatically correct every type of movement | Check total rig compatibility, adjustment range, operator fit, setup time, and availability of training |
| Shoulder rig or handheld support rig | Depends on the rails, handles, and accessories used | No power required unless electronic accessories are added | Documentary work, interviews, and shoulder-height handheld shooting | Improves grip, balance, and control; provides mounting points for accessories | It is not a substitute for a motorized gimbal or a body-supported stabilizer; walking footage may still show movement | Assess comfort, adjustability, total weight, quick-release options, and accessory placement |
| Optical or in-body stabilization | Limited by the camera and lens combination rather than a separate support payload | Uses the camera's battery; power use varies by camera and stabilization mode | Still photography, static video, and situations where carrying extra equipment is impractical | Compact and always available when built into the camera or lens; useful for reducing small shakes | Cannot reproduce all gimbal movements or remove every kind of camera motion | Check which stabilization modes are supported and whether the camera and lens work together as intended |
Selection tip: The best stabilizer depends on the complete camera setup and the type of movement you need. Compare total rig weight—not camera body weight alone—and check payload, balance range, operating time, setup effort, and operator comfort. Figures are general category guidance; specifications vary by model.
The best camera stabilizer depends on your camera’s weight and the way you shoot. A phone gimbal suits quick walks, travel clips, and vertical video. Choose one with simple controls if you often switch between portrait and landscape framing. For a lightweight mirrorless camera, a three-axis gimbal can smooth walking shots, but balance it carefully with the lens attached. A small imbalance can cause vibration or drain the battery faster. Test your full setup before filming.
Not every shot needs a motorized rig. A handheld grip or compact support can be easier for short clips, crowded streets, and fast camera changes. For long hikes, prioritize low weight and comfortable handling; even a capable stabilizer feels heavy after an hour. For interviews or locked-off scenes, a tripod may offer steadier framing with less setup. There’s a trade-off. Bigger rigs often add control, but they can slow you down. I’d check payload limits, battery life, and adjustment time, then practice a short walking route. My own setup might still need tweaking when a new lens changes the balance.
Relative suitability by camera setup (1 = limited fit, 5 = strong fit)
These scores are comparative guidance based on the typical design and use of each stabilizer type, not measured performance ratings. Check payload capacity, camera-lens weight, and balance requirements before choosing a model.
The best camera stabilizer in 2026 is not necessarily the one with the most features. It is the one that balances steady footage, manageable weight, and a price you can justify. Compare how smoothly it handles your camera and lens together, not just the stabilizer’s advertised payload. A rig that feels fine in a shop may become tiring after a long walk. Small details matter.
Look for quick balancing, clear controls, and battery life that suits a typical shooting day. Test slow pans, brisk turns, and a short walk on uneven pavement. Watch for horizon drift, delayed response, or motors that strain when you tilt the camera. That matters. Also compare what comes in the box; a needed handle or plate can change the real cost. More modes are not always more useful.
Tips: Bring your actual camera, lens, and any commonly used accessories when trying a stabilizer. Check whether you can rebalance it without tools, and note how long setup takes. Keep it simple. If possible, record the same walking shot with two options, then compare the footage on a larger screen. Specifications help narrow the field, but comfort and reliable operation often decide the better value. I’d still leave room for personal preference: the lightest setup may not feel the most controlled.