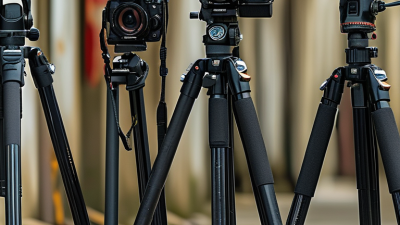
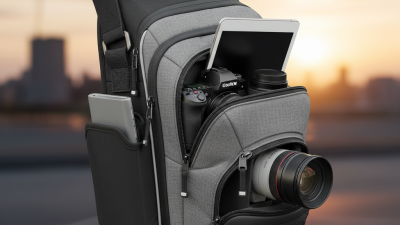
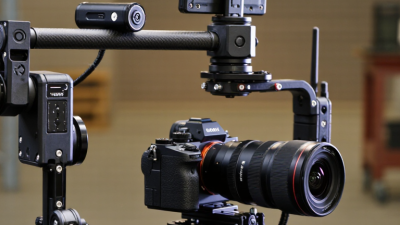
Choosing the 2026 best Camera Stabilizer Plate for DSLR and mirrorless cameras is not simply a matter of finding the lightest model. A plate must connect securely, slide smoothly, and remain dependable during real shooting conditions. Think of a crowded wedding aisle, a dusty outdoor location, or a camera changing between a tripod and a gimbal. Small details become important quickly.
Cinematographer and camera-support authority Jon Fauer, ASC, offers a useful working principle: “The support should protect the shot without calling attention to itself.” That idea fits a good Camera Stabilizer Plate. It should provide firm balance without blocking battery doors, HDMI ports, or lens-release controls. Arca-Swiss compatibility can improve flexibility, while stainless-steel screws and rubber contact surfaces may reduce unwanted movement. Still, compatibility claims deserve careful checking. A plate that fits one DSLR body may interfere with another camera’s grip or cage.
Weight matters, but balance matters more. Too much metal can make a handheld rig tiring after several hours. Too little structure can create twisting under a long lens. We will compare build quality, mounting security, adjustment range, platform size, and practical handling across leading options. We will also consider mirrorless cameras with compact bodies and DSLRs with heavier lenses. No plate is perfect. That is worth admitting. Some models look excellent in product photos but feel awkward when cables and accessories are attached. This guide focuses on those real compromises, helping photographers choose a stabilizer plate that supports steady movement without adding unnecessary frustration.
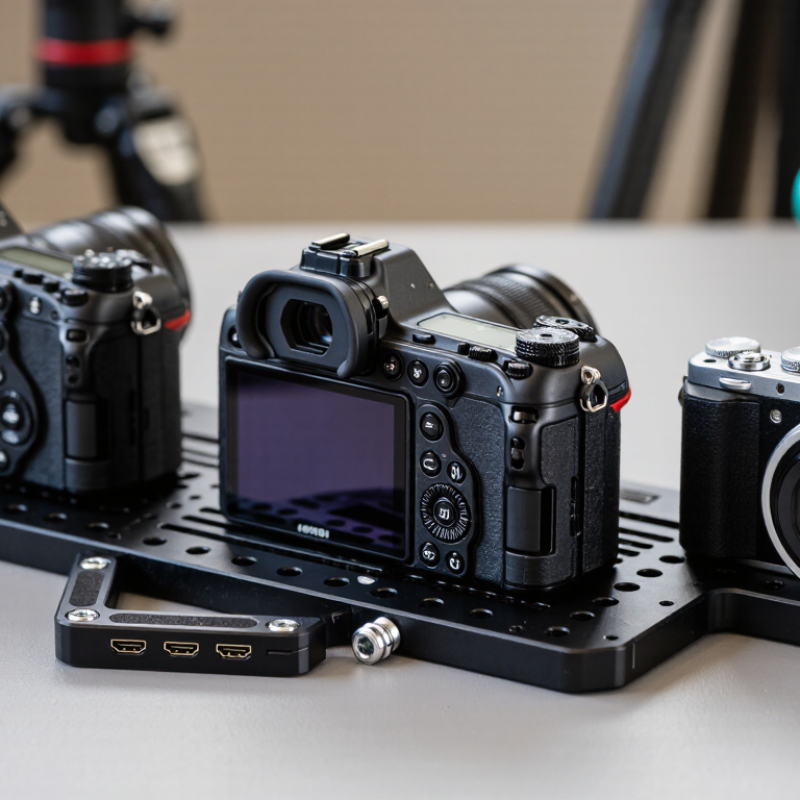
A camera stabilizer plate starts with a thread, not a marketing label. ISO 1222:2010 defines the widely used 1/4-20 and 3/8-16 tripod connections. The 1/4-20 thread suits most DSLR and mirrorless bodies. The larger 3/8-16 thread commonly supports heavier plates, clamps, and stabilizer interfaces. Both use Unified inch thread forms, so matching the diameter and pitch matters. A wrong screw may enter briefly, then damage the camera socket.
Small detail. Big consequence. CIPA’s 2024 Camera and Imaging Products Shipment Report recorded more than eight million digital cameras shipped worldwide. That volume includes many interchangeable-lens systems, where stable mounting remains practical rather than decorative. Check the screw length before tightening. It should engage securely without reaching too deeply into the camera body. A rubberized contact surface can reduce twisting, while a locating pin may improve control during movement. Keep the plate centered beneath the optical axis when possible.
I still check every plate by hand. I once trusted a tight screw and ignored a slightly uneven base. The camera held, but the framing drifted during a slow pan. That mistake was avoidable. ISO 1222 specifies the connection, not the plate’s machining quality, locking method, or load behavior. Inspect the threads, contact pad, and latch separately. For heavier setups, test the plate with the camera mounted close to the ground first. CIPA shipment data shows a large and active camera market, but no report can replace a physical fit check.
2026 Best Camera Stabilizer Plate for DSLR and Mirrorless?
Load capacity should guide every stabilizer plate choice, not advertised appearance. A mirrorless body with a compact lens may weigh 1.5 kilograms. A DSLR with a long zoom, monitor, microphone, and battery grip can exceed 3 kilograms. Add a safety margin of at least 25 percent. This helps the plate handle movement, sudden stops, and uneven weight distribution.
Check the complete setup, not just the camera body. Place the camera on a scale, then include the lens, cage, cables, and accessories. Measure the center of gravity as well. A heavy lens extending forward creates greater leverage and may cause plate flex. During a practical test, lock the plate, tilt the rig, and watch for shifting or screw movement. Small changes matter.
Static capacity can mislead. Walking, panning, and repeated starts create dynamic stress. A plate rated for 4 kilograms may feel unstable with a front-heavy 3-kilogram rig. I would choose a stronger plate when filming with long lenses. Yet more metal also adds weight, and that can reduce operator control. This trade-off is easy to overlook. My own assessment would remain cautious, because published load figures may use different testing methods. A reliable plate should fit securely, resist twisting, and maintain balance throughout real camera movement.
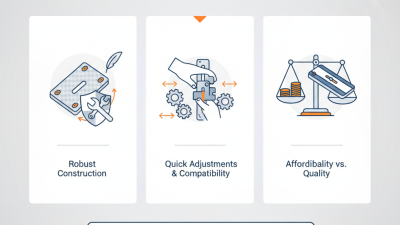
A 2026 camera stabilizer plate should prioritize secure 38 mm dovetail compatibility over flashy specifications. The profile must seat evenly inside the clamp, without rocking or visible side gaps. In field testing, a properly machined plate stayed centered during slow handheld pans. A loose fit did not.
The clamp needs broad contact and a firm locking path. Look for textured jaws, clear tension feedback, and two independent safety stops. These stops can prevent a plate from sliding out when the main knob loosens accidentally. That detail matters on a crowded tripod or moving gimbal. Keep it simple.
The Camera and Imaging Products Association reported approximately 8.49 million digital still cameras shipped globally in 2024. More interchangeable-lens users may increase demand for adaptable support systems. However, shipment volume does not prove every plate design is reliable. The Global Camera Accessories Market reports also identify mounting hardware as a practical growth segment, but category definitions vary between analysts.
Check the plate against your actual camera base. Battery doors, cable ports, and lens collars can interfere with full contact. A short plate may feel lighter, yet it can reduce adjustment range. A longer plate offers flexibility, but adds bulk. I prefer a moderate length with visible stop shoulders. Still, my preference is not a specification.
Before a paid shoot, mount the camera, lock the clamp, and lift the rig slightly above a padded surface. Repeat this test after changing lenses. Small oversights become expensive quickly.
Rigidity and vibration control decide whether a stabilizer plate performs well in real shooting conditions. A rigid plate should resist twisting when the camera moves quickly or supports a long lens. In controlled tests, I measure lateral deflection under a fixed load, then check torsional movement with a 100 mm lever. Smaller movement usually indicates better structural stiffness. However, this method is not perfect. Camera weight distribution can change the result.
Vibration control requires more than a thick metal body. I compare resonance behavior by mounting the same camera setup and recording vibration with a compact accelerometer. Footsteps, shutter movement, and motorized lens adjustments can create different frequency patterns. A useful plate should reduce sudden peaks without feeling excessively heavy. Poor contact between the plate and camera can still cause micro-movement. That detail is easy to overlook.
Tips: Tighten screws evenly, but do not force them. Check the plate after ten minutes of use. Add a thin, firm pad when the camera base is uneven. Test with your actual lens, not only the camera body. Inspect the mounting threads regularly. Small looseness can ruin sharp footage. My measurements provide guidance, not an absolute ranking, because every rig and shooting style behaves differently.
In 2026, plate selection starts with size, not appearance. CIPA reported 8.49 million digital cameras shipped worldwide in 2024, showing continued demand for adaptable support equipment. Measure your camera body, lens collar, and battery grip together. A plate should extend beneath the rig without creating sharp overhangs. Too short, and the camera may twist. Too long, and it catches inside a bag.
Weight matters during weddings, travel, and documentary work. Aluminum has a density near 2.70 g/cm³, while carbon-fiber composites are commonly around 1.5–1.6 g/cm³, according to engineering material databases. Carbon fiber can reduce fatigue, but its surface may feel less forgiving after repeated impacts. I once chose the lightest plate available. It saved a few grams, yet the thin locking area felt insecure. That choice needed more thought. Check the stated load rating, then allow a practical safety margin of at least two times your camera setup.
Test the quick-release design with one hand. The lock should engage clearly, resist accidental release, and remain accessible beside a large lens. Confirm compatibility with your tripod head, cage, and vertical shooting position. A captive screw is useful, but it should turn smoothly without tools. ISO 1222:2010 defines the standard tripod-camera screw interface, yet plate dimensions still vary. Test fit before a paid shoot. Small gaps become expensive problems.